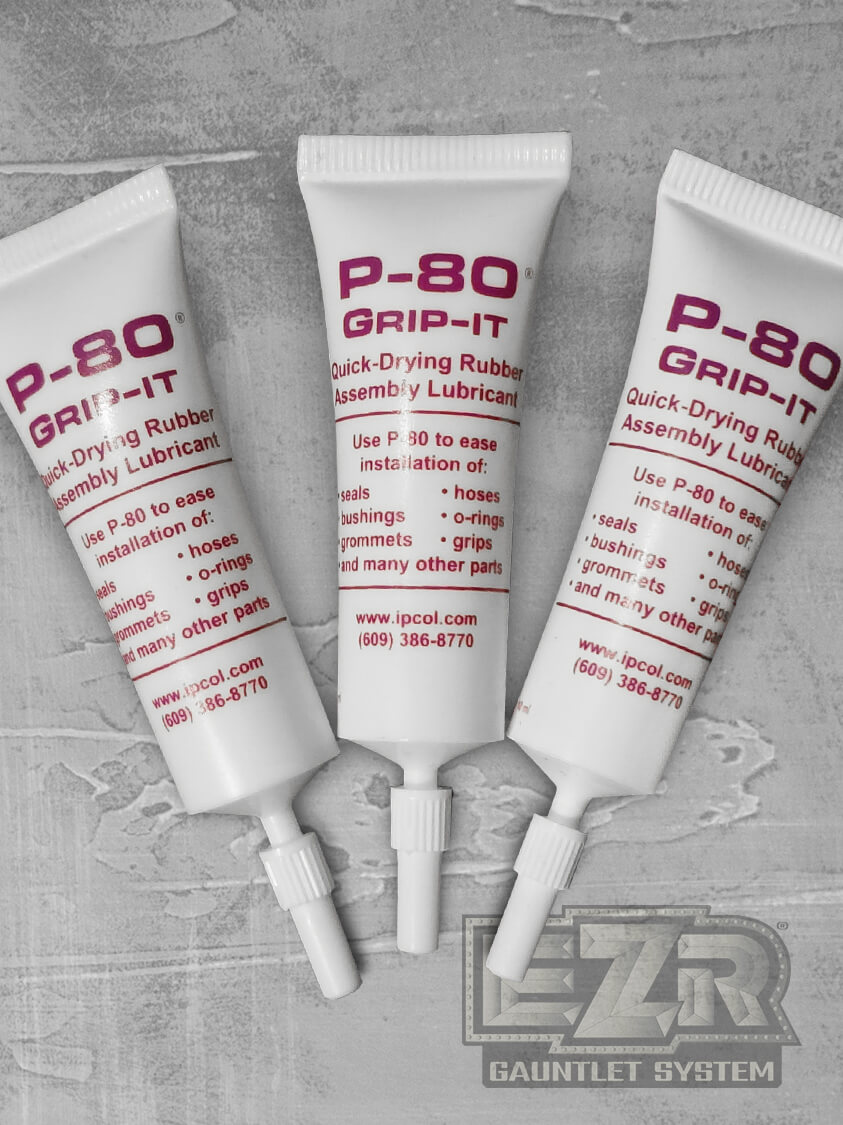
P-80 Grip-It
$4.50
Temporary gauntlet lubricant – safe and ready to use – helps ease the installation of your gauntlet! Will not leave any residue on your firearm if the gauntlet is removed.
In stock
Installation:
It is best to begin in a clean and well-lighted workspace. By following these few simple steps you will ensure the best possible installation of your new EZR grip.
You will need a hairdryer to warm the grip prior to installation. It is a good idea to choose a warm room for the process so the EZR grip will stay flexible throughout the installation. If lubrication is needed EZR approved P-80 Grip-It may be used. (see our product listing.)
IMPORTANT: Make sure any firearm to be handled is unloaded and mounting surface is clean and free of any grit or debris
If you are mounting an EZR Gauntlet to an AR pistol grip, after following step 1, remove the pistol grip from the AR prior to installation
- Inspect the EZR grip interior socket, making sure it is clean and clear of any grit or debris.
- Warm the EZR grip with a hair dryer until flexible. Note: DO NOT overheat grip and DO NOT use a heat gun
- If lubricant is to be used, apply a thin, even film of P-80 Grip-It to the surface where the EZR grip will be mounted. Note: If this is a firearm you rely upon for daily use, be aware that the use of lubricant for installation requires the grip be allowed to set for 24 hours before being put into service.
- Take the warmed grip and gently stretch the opening a few times before attempting to install. Make sure you do not have excess lubricant on your hands, which could cause them to slip
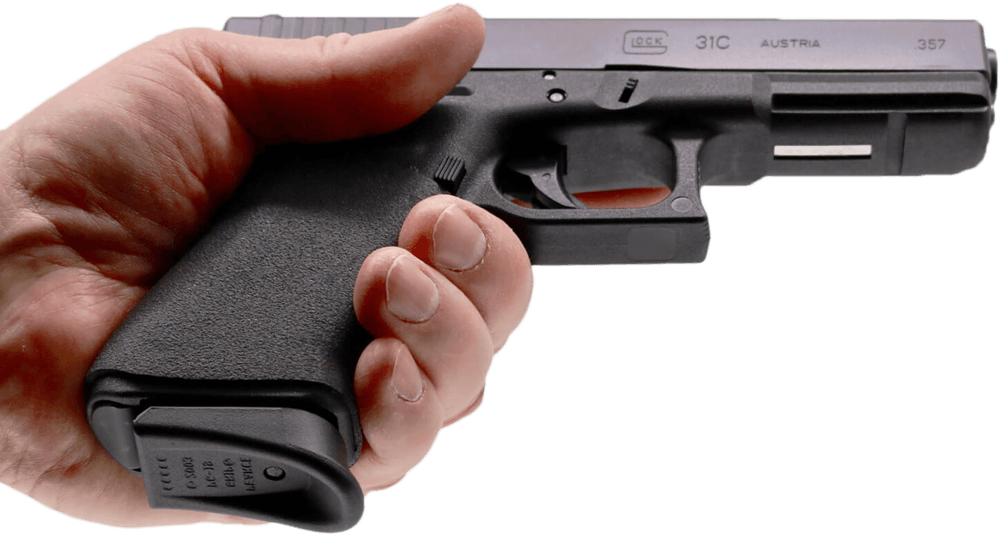
- Stretch-open the grip and ease it over the butt of the handgun, or the AR pistol grip. Once in place, you will find that a lubricated installation allows you to slide the grip over the surface until it is right where you want it. Grip it in your hand and make sure the position is just right
- Allow the firearm or AR pistol grip to set undisturbed for 24 hours to ensure a snug, clinging attachment of the EZR grip.
Reviews
There are no reviews yet.
Be the first to review “P-80 Grip-It”
You must be logged in to post a review.


Reviews
There are no reviews yet.