
CAUTION: BEFORE INSTALLATION, MAKE SURE THE FIREARM IS UNLOADED, THE MAGAZINE IS REMOVED AND THERE IS NO CARTRIDGE IN THE CHAMBER.
EZR gun gauntlets are designed to be installed with a minimum of time and effort. These instructions will aid you in a quick and easy installation.
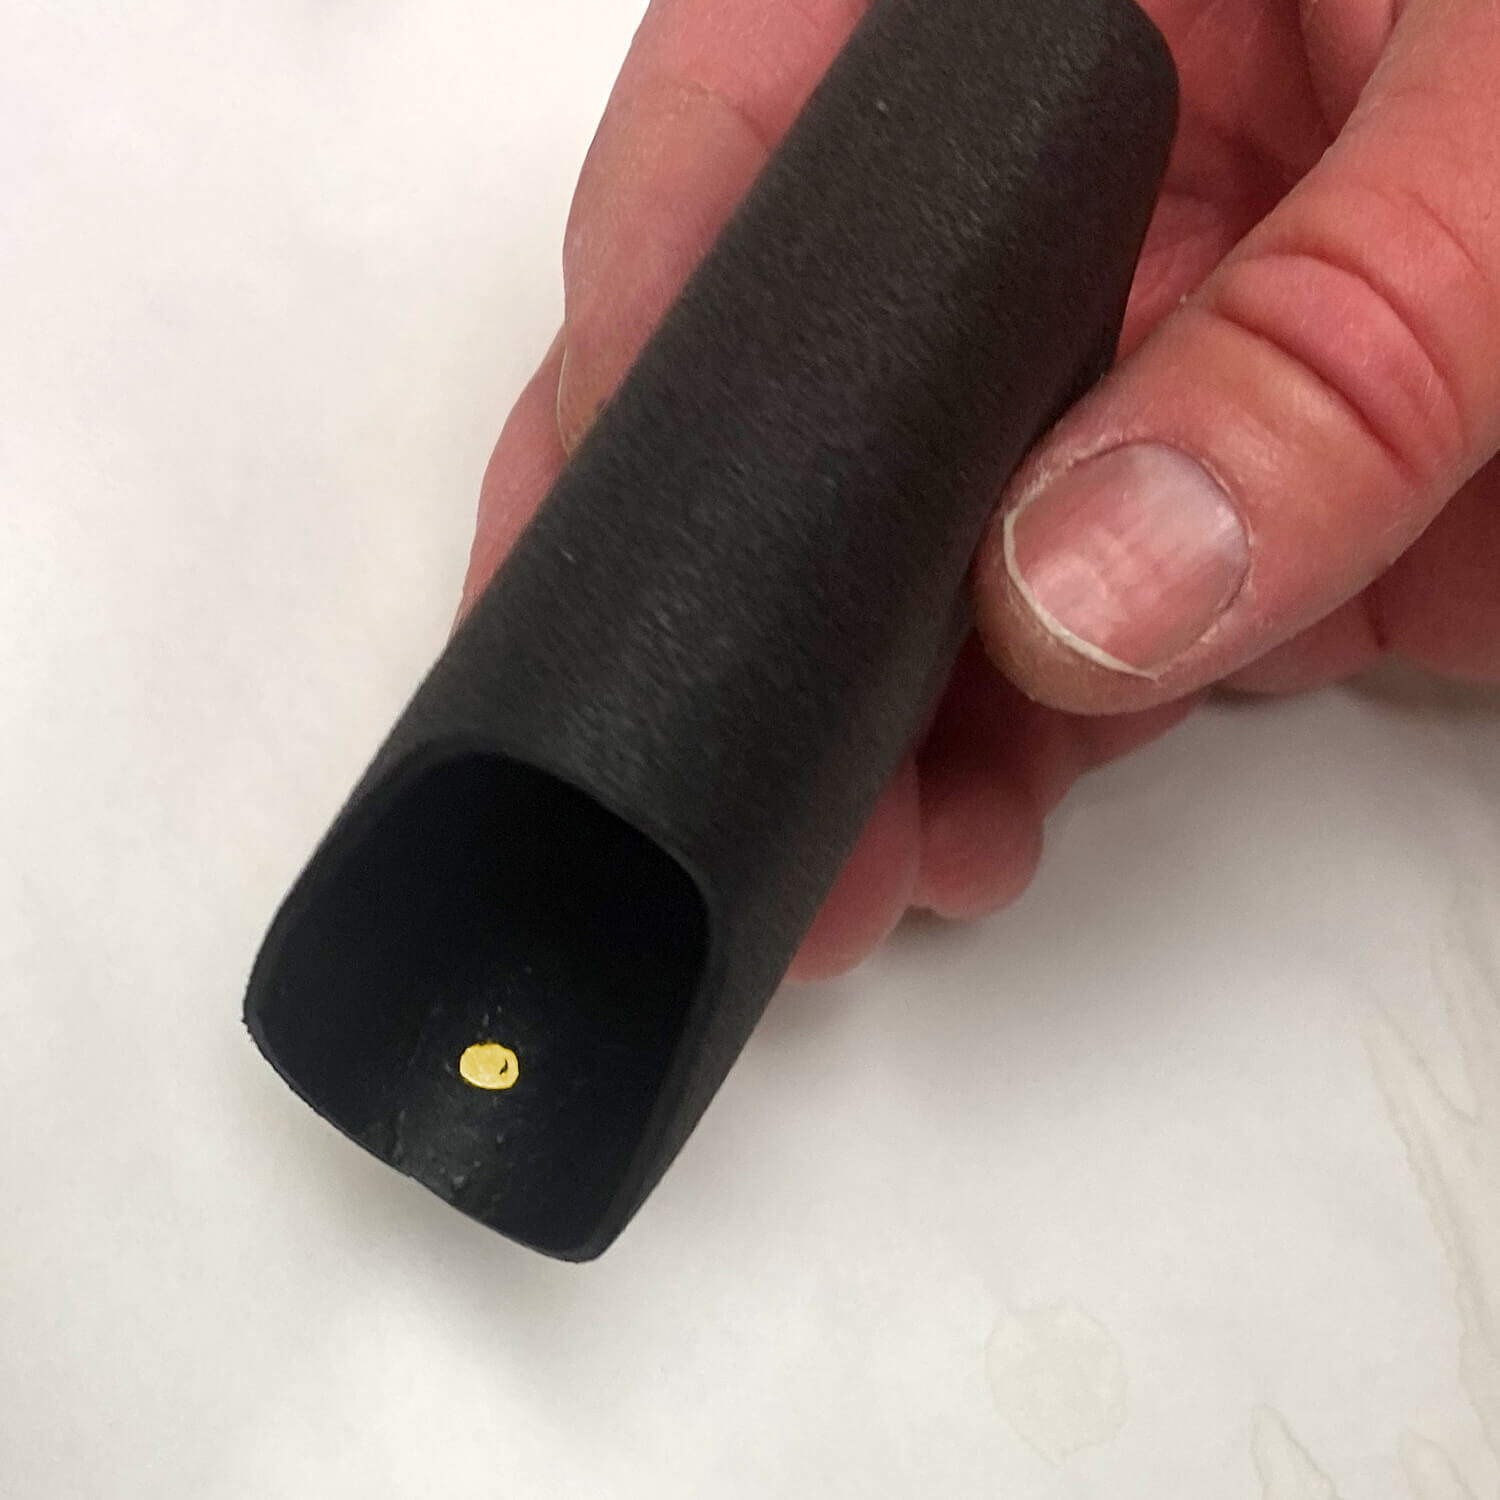
STEP 1: Orient
For the correct placement of gauntlet make sure the yellow dot, which is on the inside of the gauntlet, is placed at the base and back of the grip.
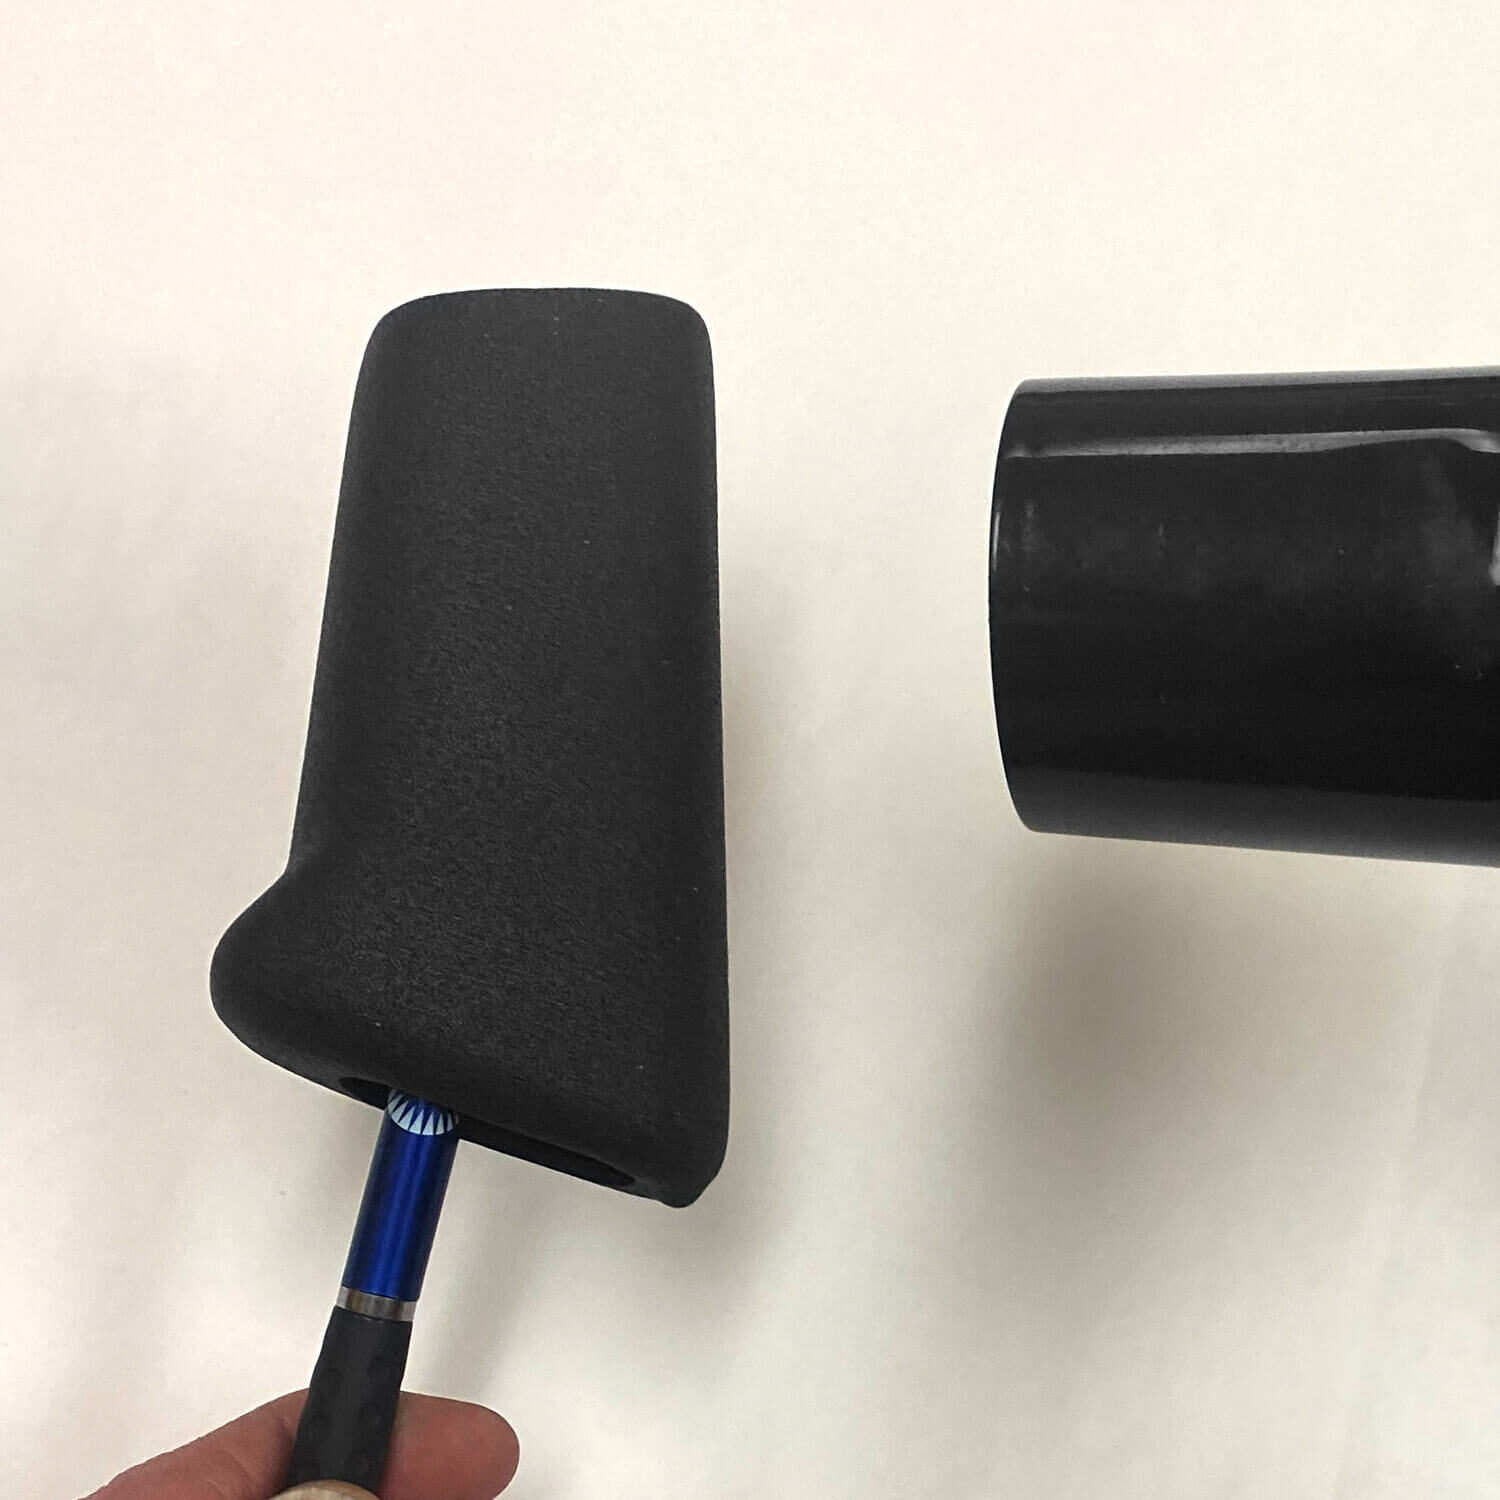
STEP 2: Heat
Gradually heat the gauntlet with a hairdryer or heat gun at a medium or low setting.
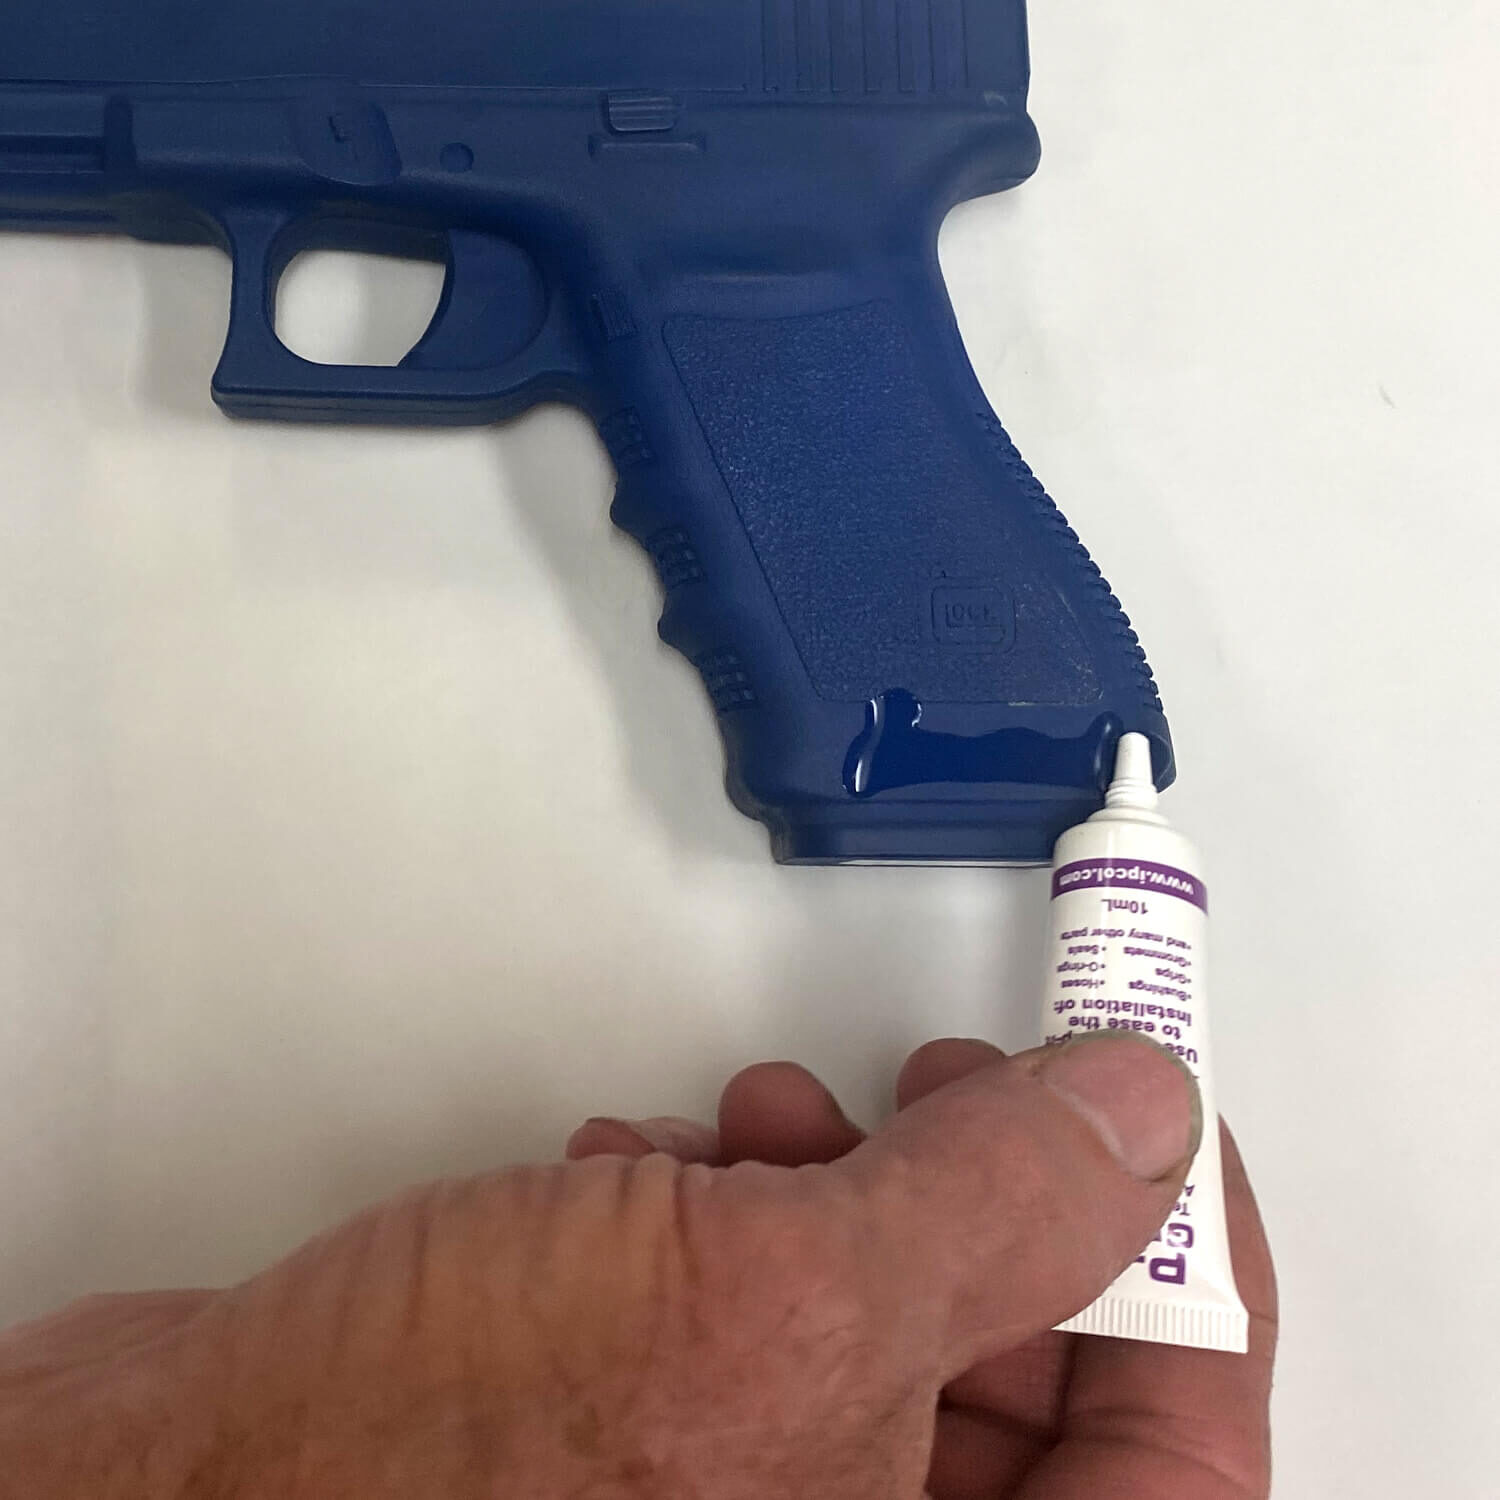
STEP 3: Lubricate
After heating the gauntlet apply a thin layer of P80* to the grip. *If P80 is unavailable, use a mix of 30% water / 70% rubbing alcohol – installation may be more difficult.
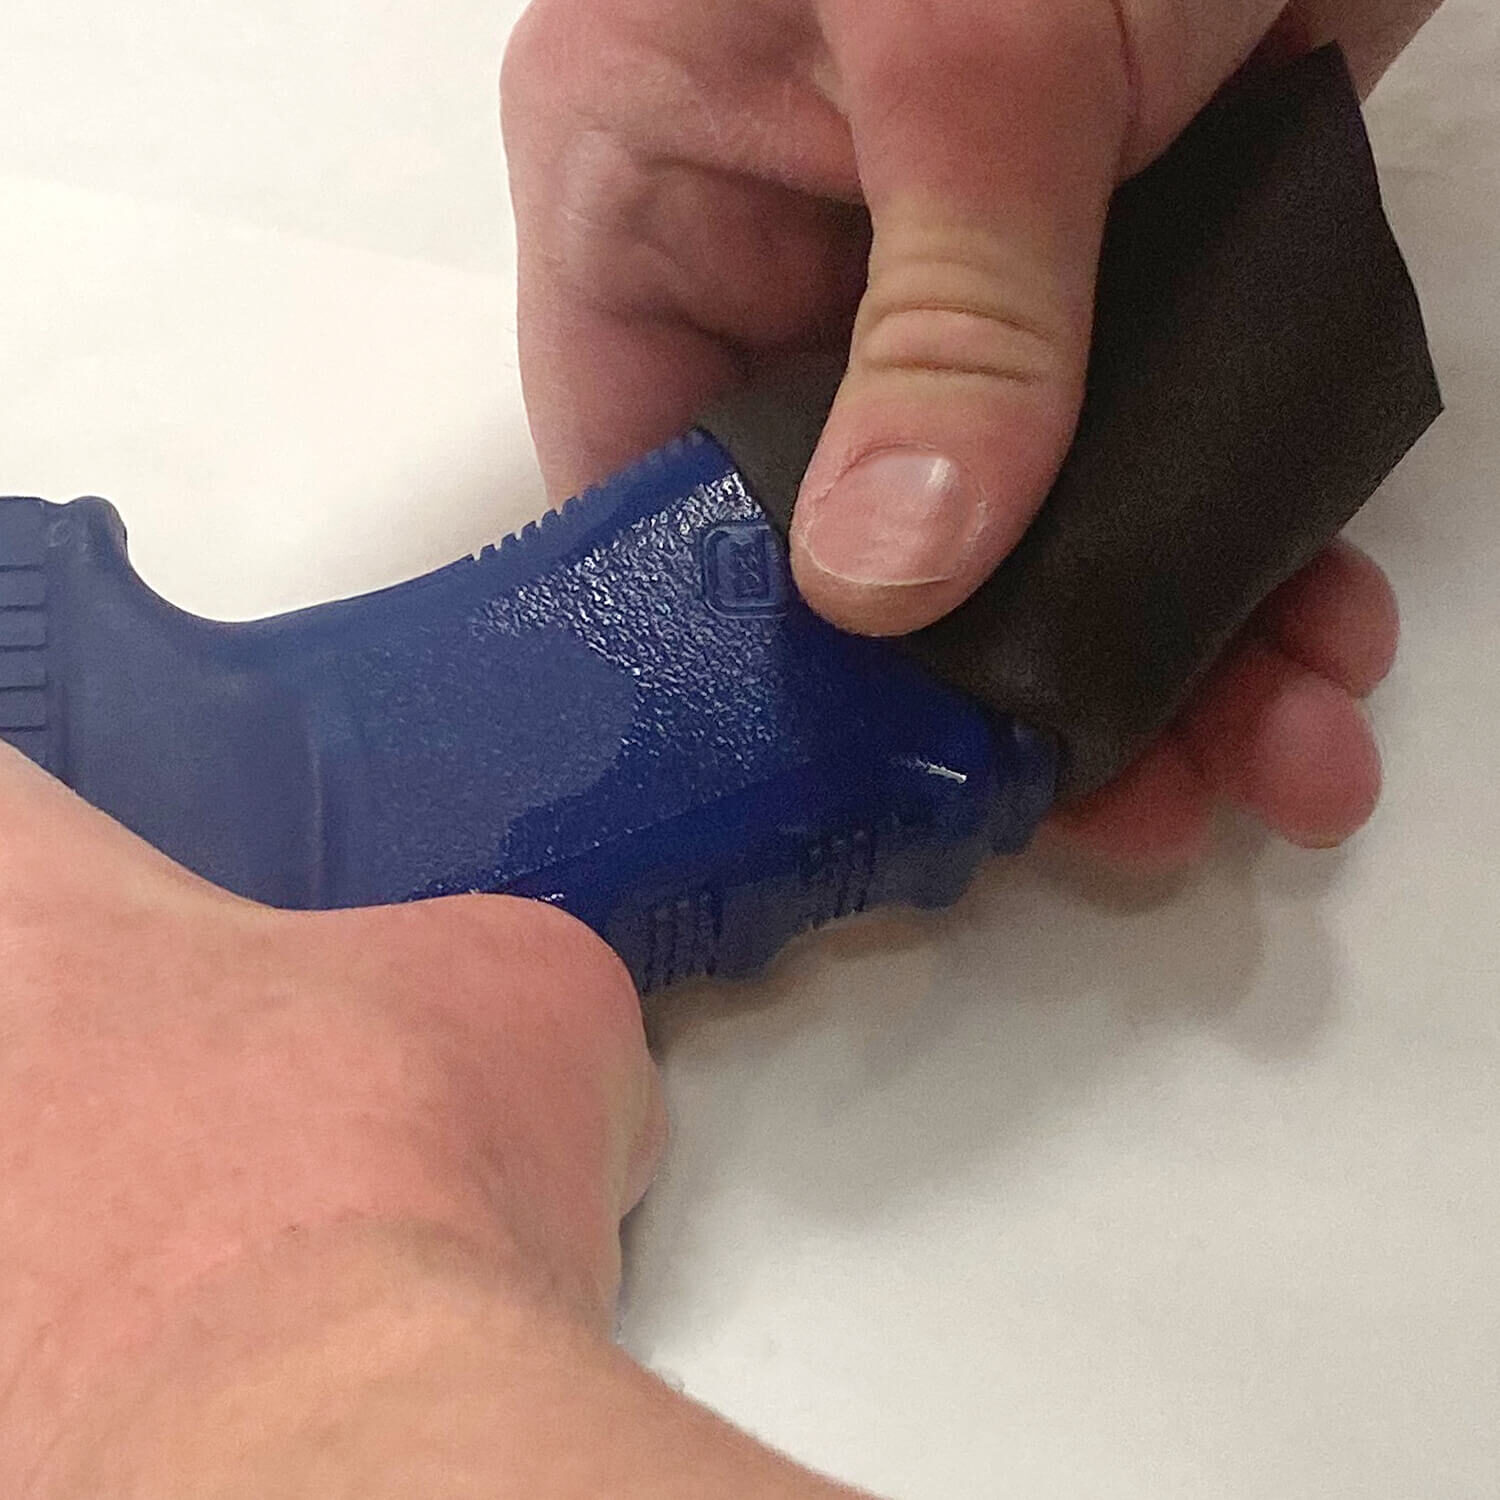
STEP 4: Stretch
Start at the base of the backstrap and stretch the gauntlet over the front of the grip.
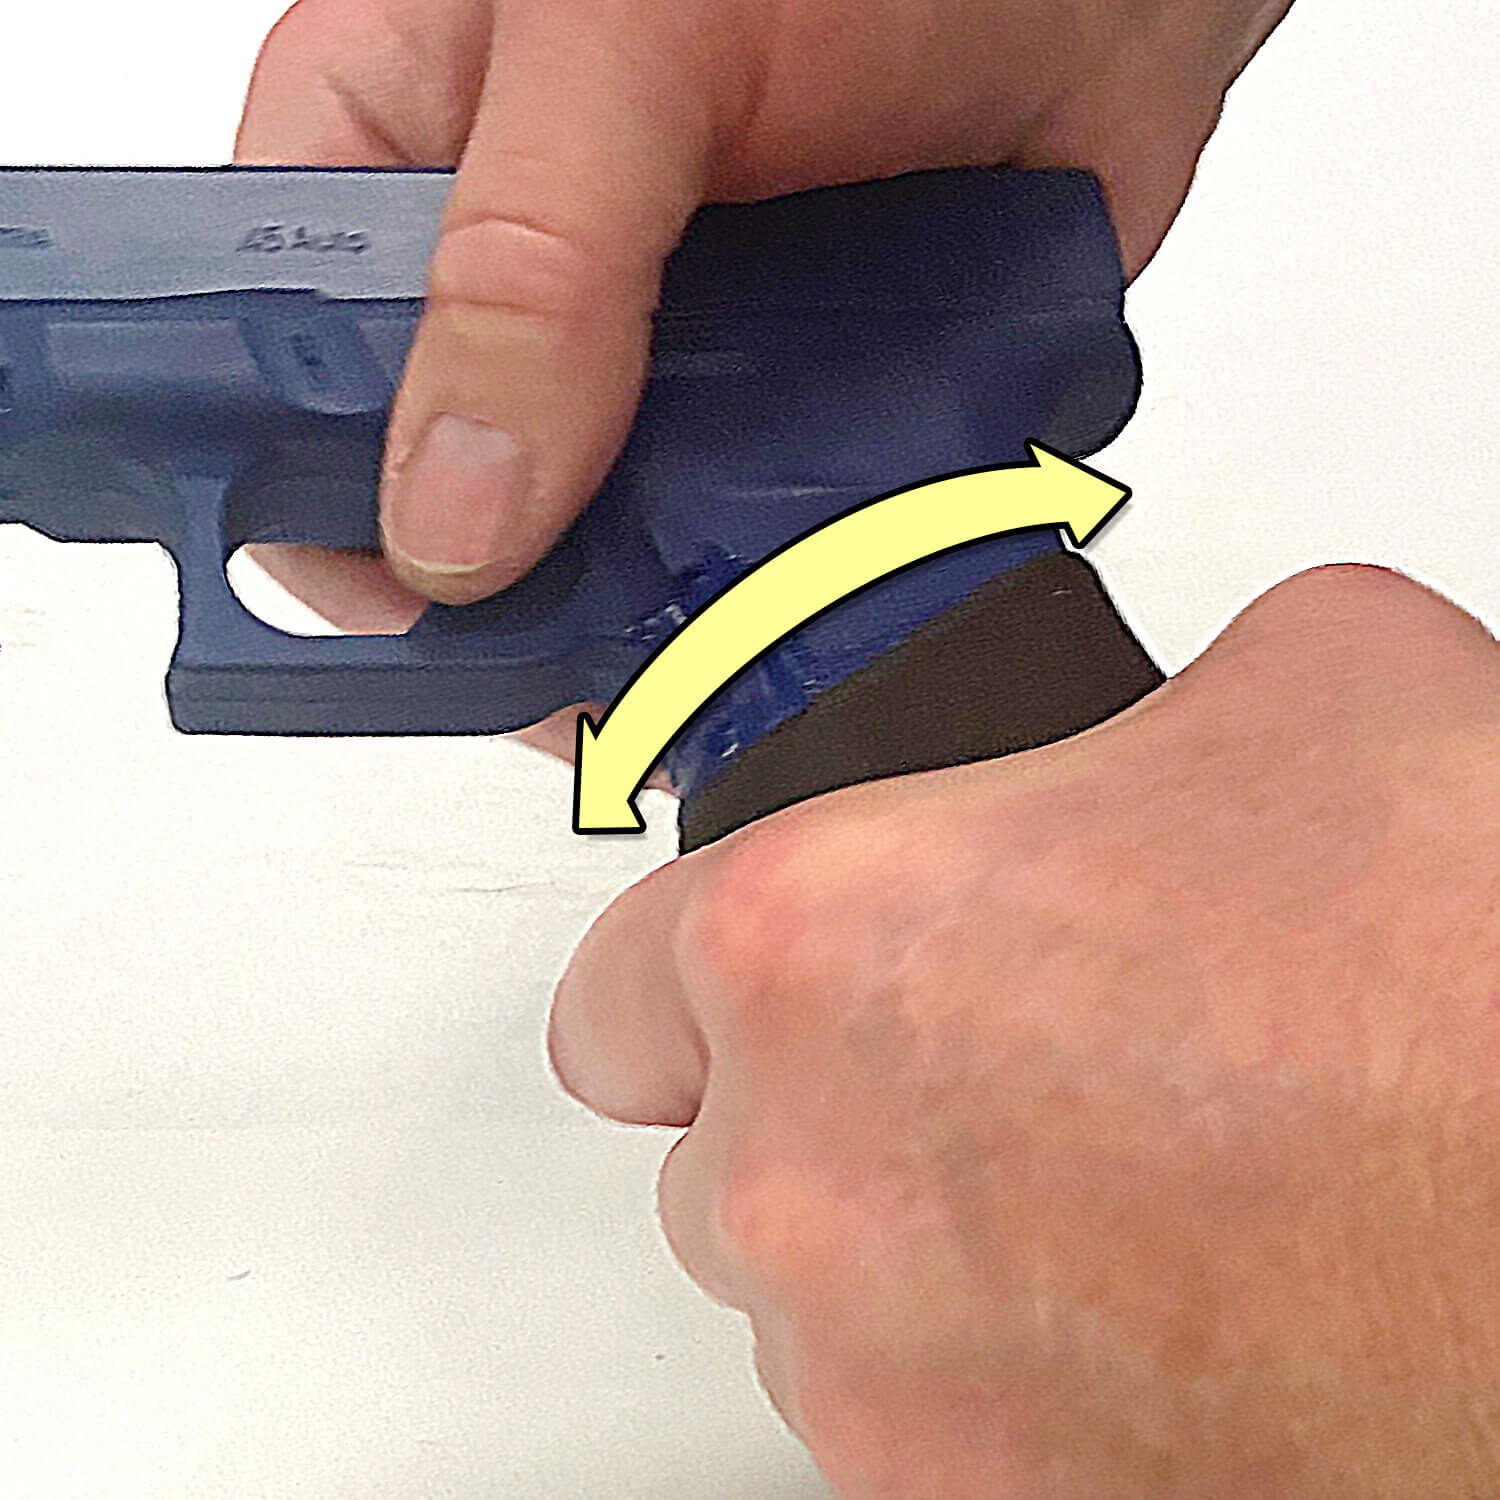
STEP 5: Twist
While the lubricant is still wet twist and walk the gauntlet up the grip until you have it in the proper position.
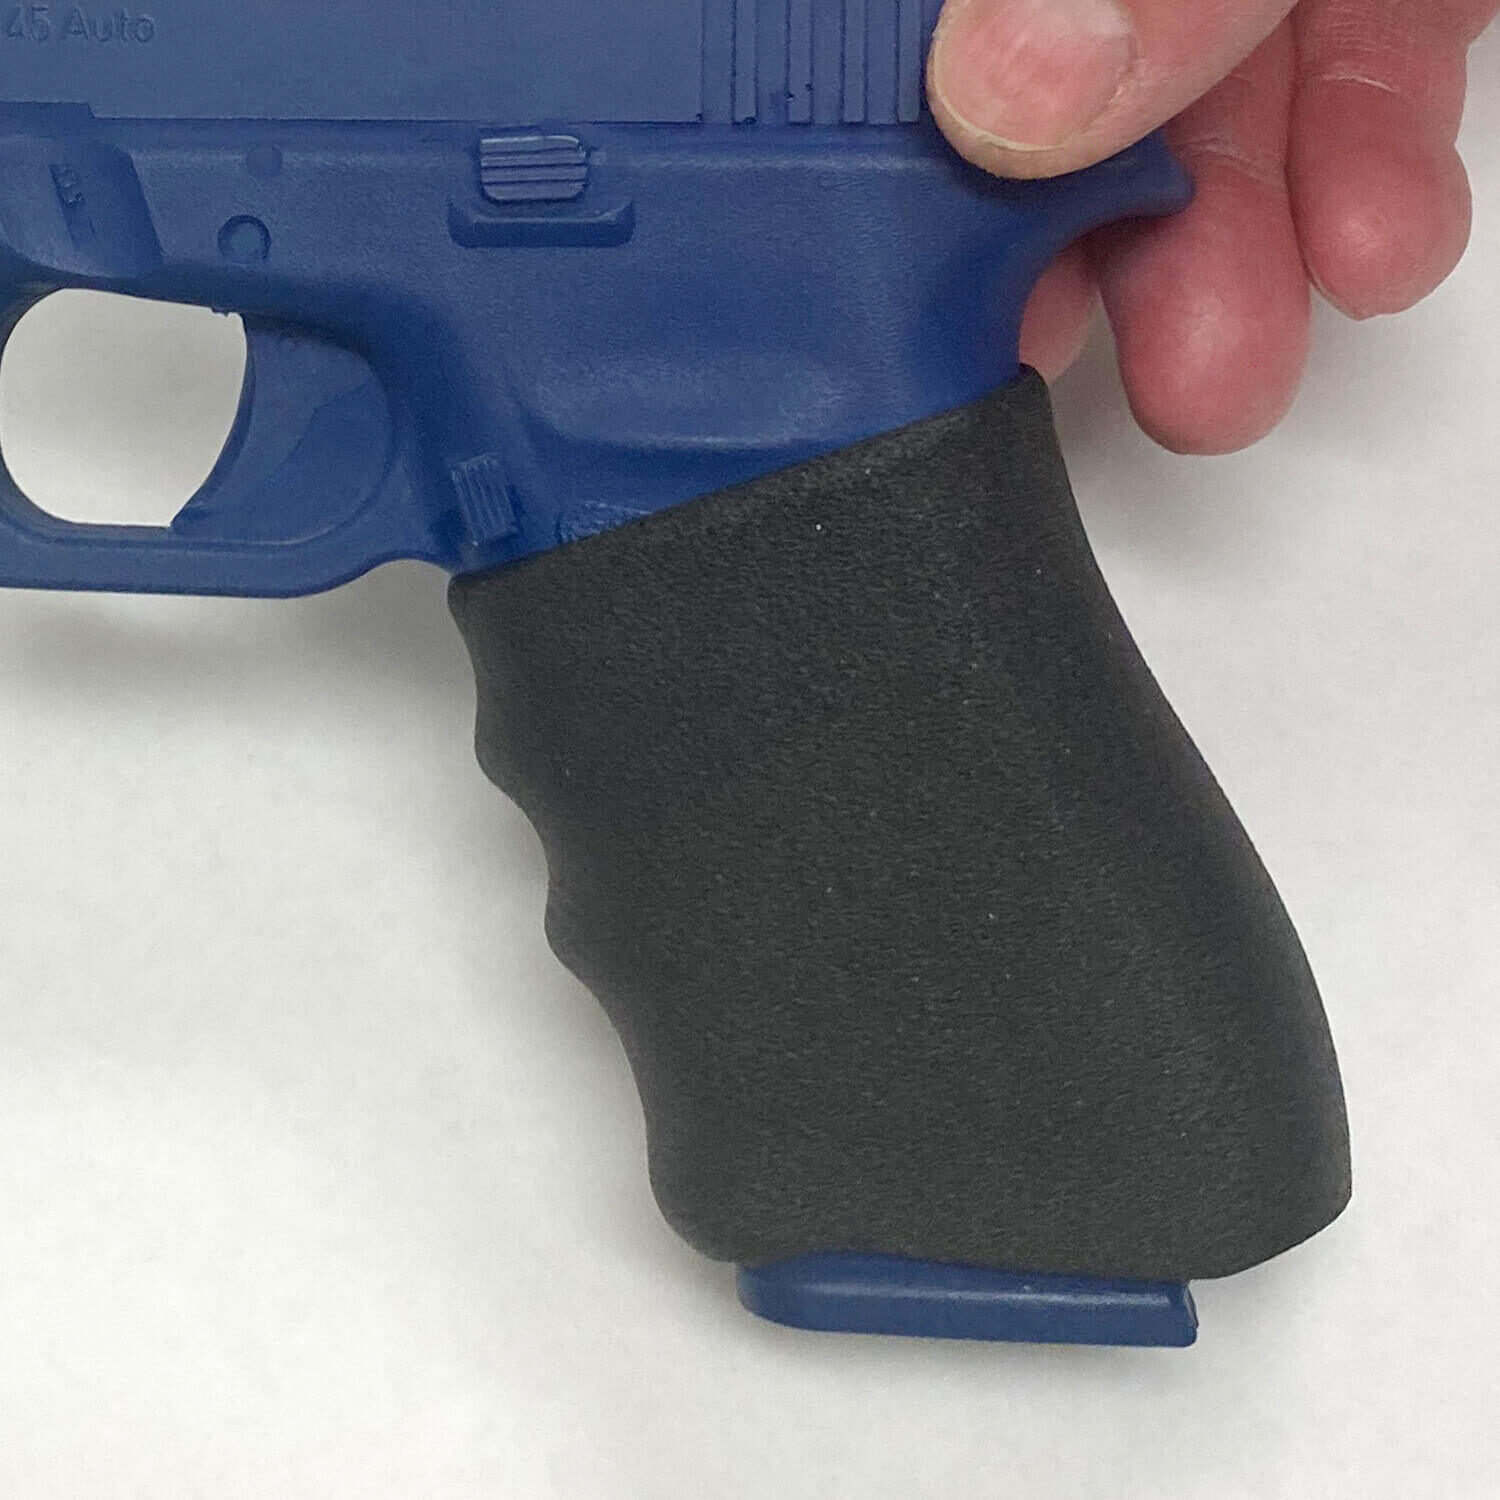
STEP 6: Done
Clean, dry, and let the gauntlet sit 6-12 hours for the lubricant to evaporate completely.